Caliburn.Micro Xaml made easy
Solution Setup
Solution Setup
Create a WPF solution
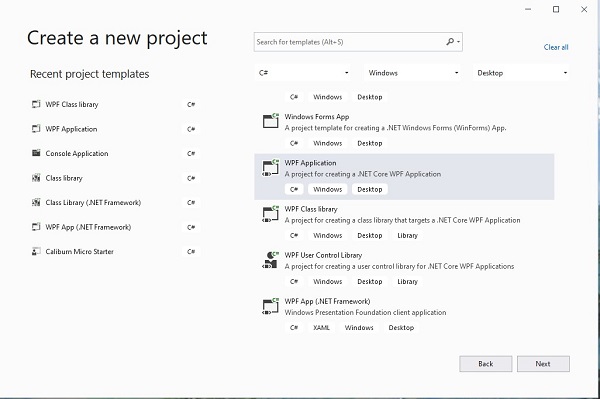
The first step for this tutorial is to create a new C# WPF Solution. Make sure to select a .Net solution type. In the code samples .Net 5.0 is used, but .Net Core3.1 should be OK as well.
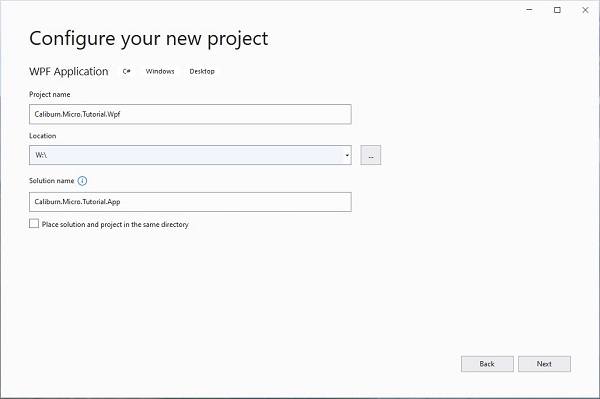
Next, you can give your project and solution a name. At this moment we only need the UI project for WPF. To promote some consistency, the naming convention is used to name the project with a suffix .WPF. The solution gets the suffix .app
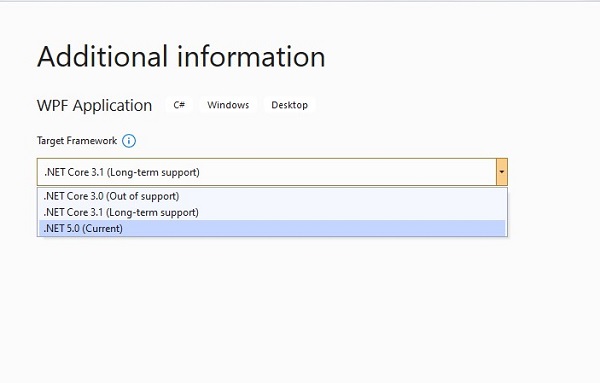
Finally, you can set the .Net version:
You should have a working project now.
Add the Caliburn.Micro Nuget Package
Before we can adapt the project to a Caliburn.Micro project, it is necessary to install the Caliburn.Micro Nuget package.
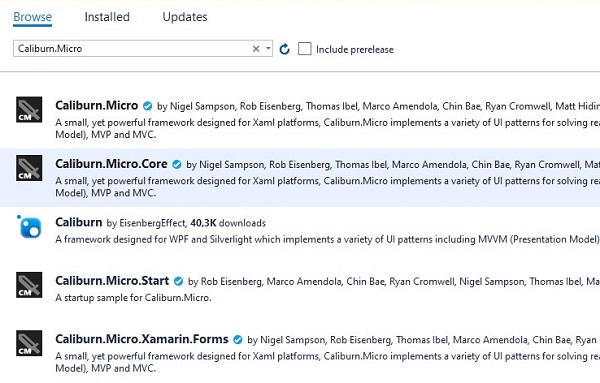
You need the Caliburn.Micro package, which contains the adapter for WPF.
You may notice a huge number of other packages are listed. They look useful, but unfortunately most of them are outdated.
Create the MVVM folders
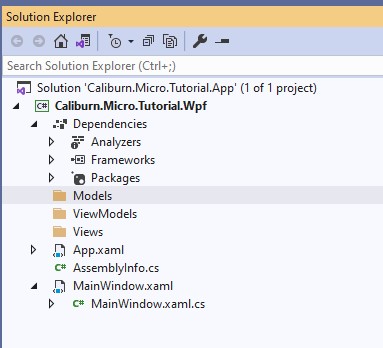
The last step to prepare the project is to create three folders in the Caliburn.Micro.Tutorial.Wpf project. Make sure to name them exactly as instructed. Caliburn.Micro uses naming conventions that enable it to search these folders automatically.
- Models
- Views
- ViewModels
The solution explorer tab should look like shown below: